About FoodHarmony Practice
How The Course Works
01. Set one dish clearly
Practice begins with one plate, one light source, and a simple background. Before adding props or editing, the course focuses on where the window light falls and what the photo is really showing.
02. Compare what changes
The same dish is photographed from overhead, three-quarter, and straight-on angles. Comparing versions helps reveal why a bowl, drink, dessert, or flat plate may need a different view.
03. Finish without overdoing
Editing is treated as a light finishing step after composition, focus point, plate edges, and color are checked. The goal is believable food color, not artificial saturation or heavy correction.
The course helped me slow down before taking the photo. I started checking side light, background space, and plate edges instead of trying to fix everything.
Kotone Imamura
I liked practicing one dish in several ways. Seeing the same plate from different angles made it easier to understand why some food photos felt flat or crowded.
Kosei Mikami
Questions Before You Shoot
Ask about camera or phone setup, useful home materials, food styling practice, editing pace, or which starting point fits the dishes you want to photograph.
Clarify Course FitBuilt Around Small Visual Decisions
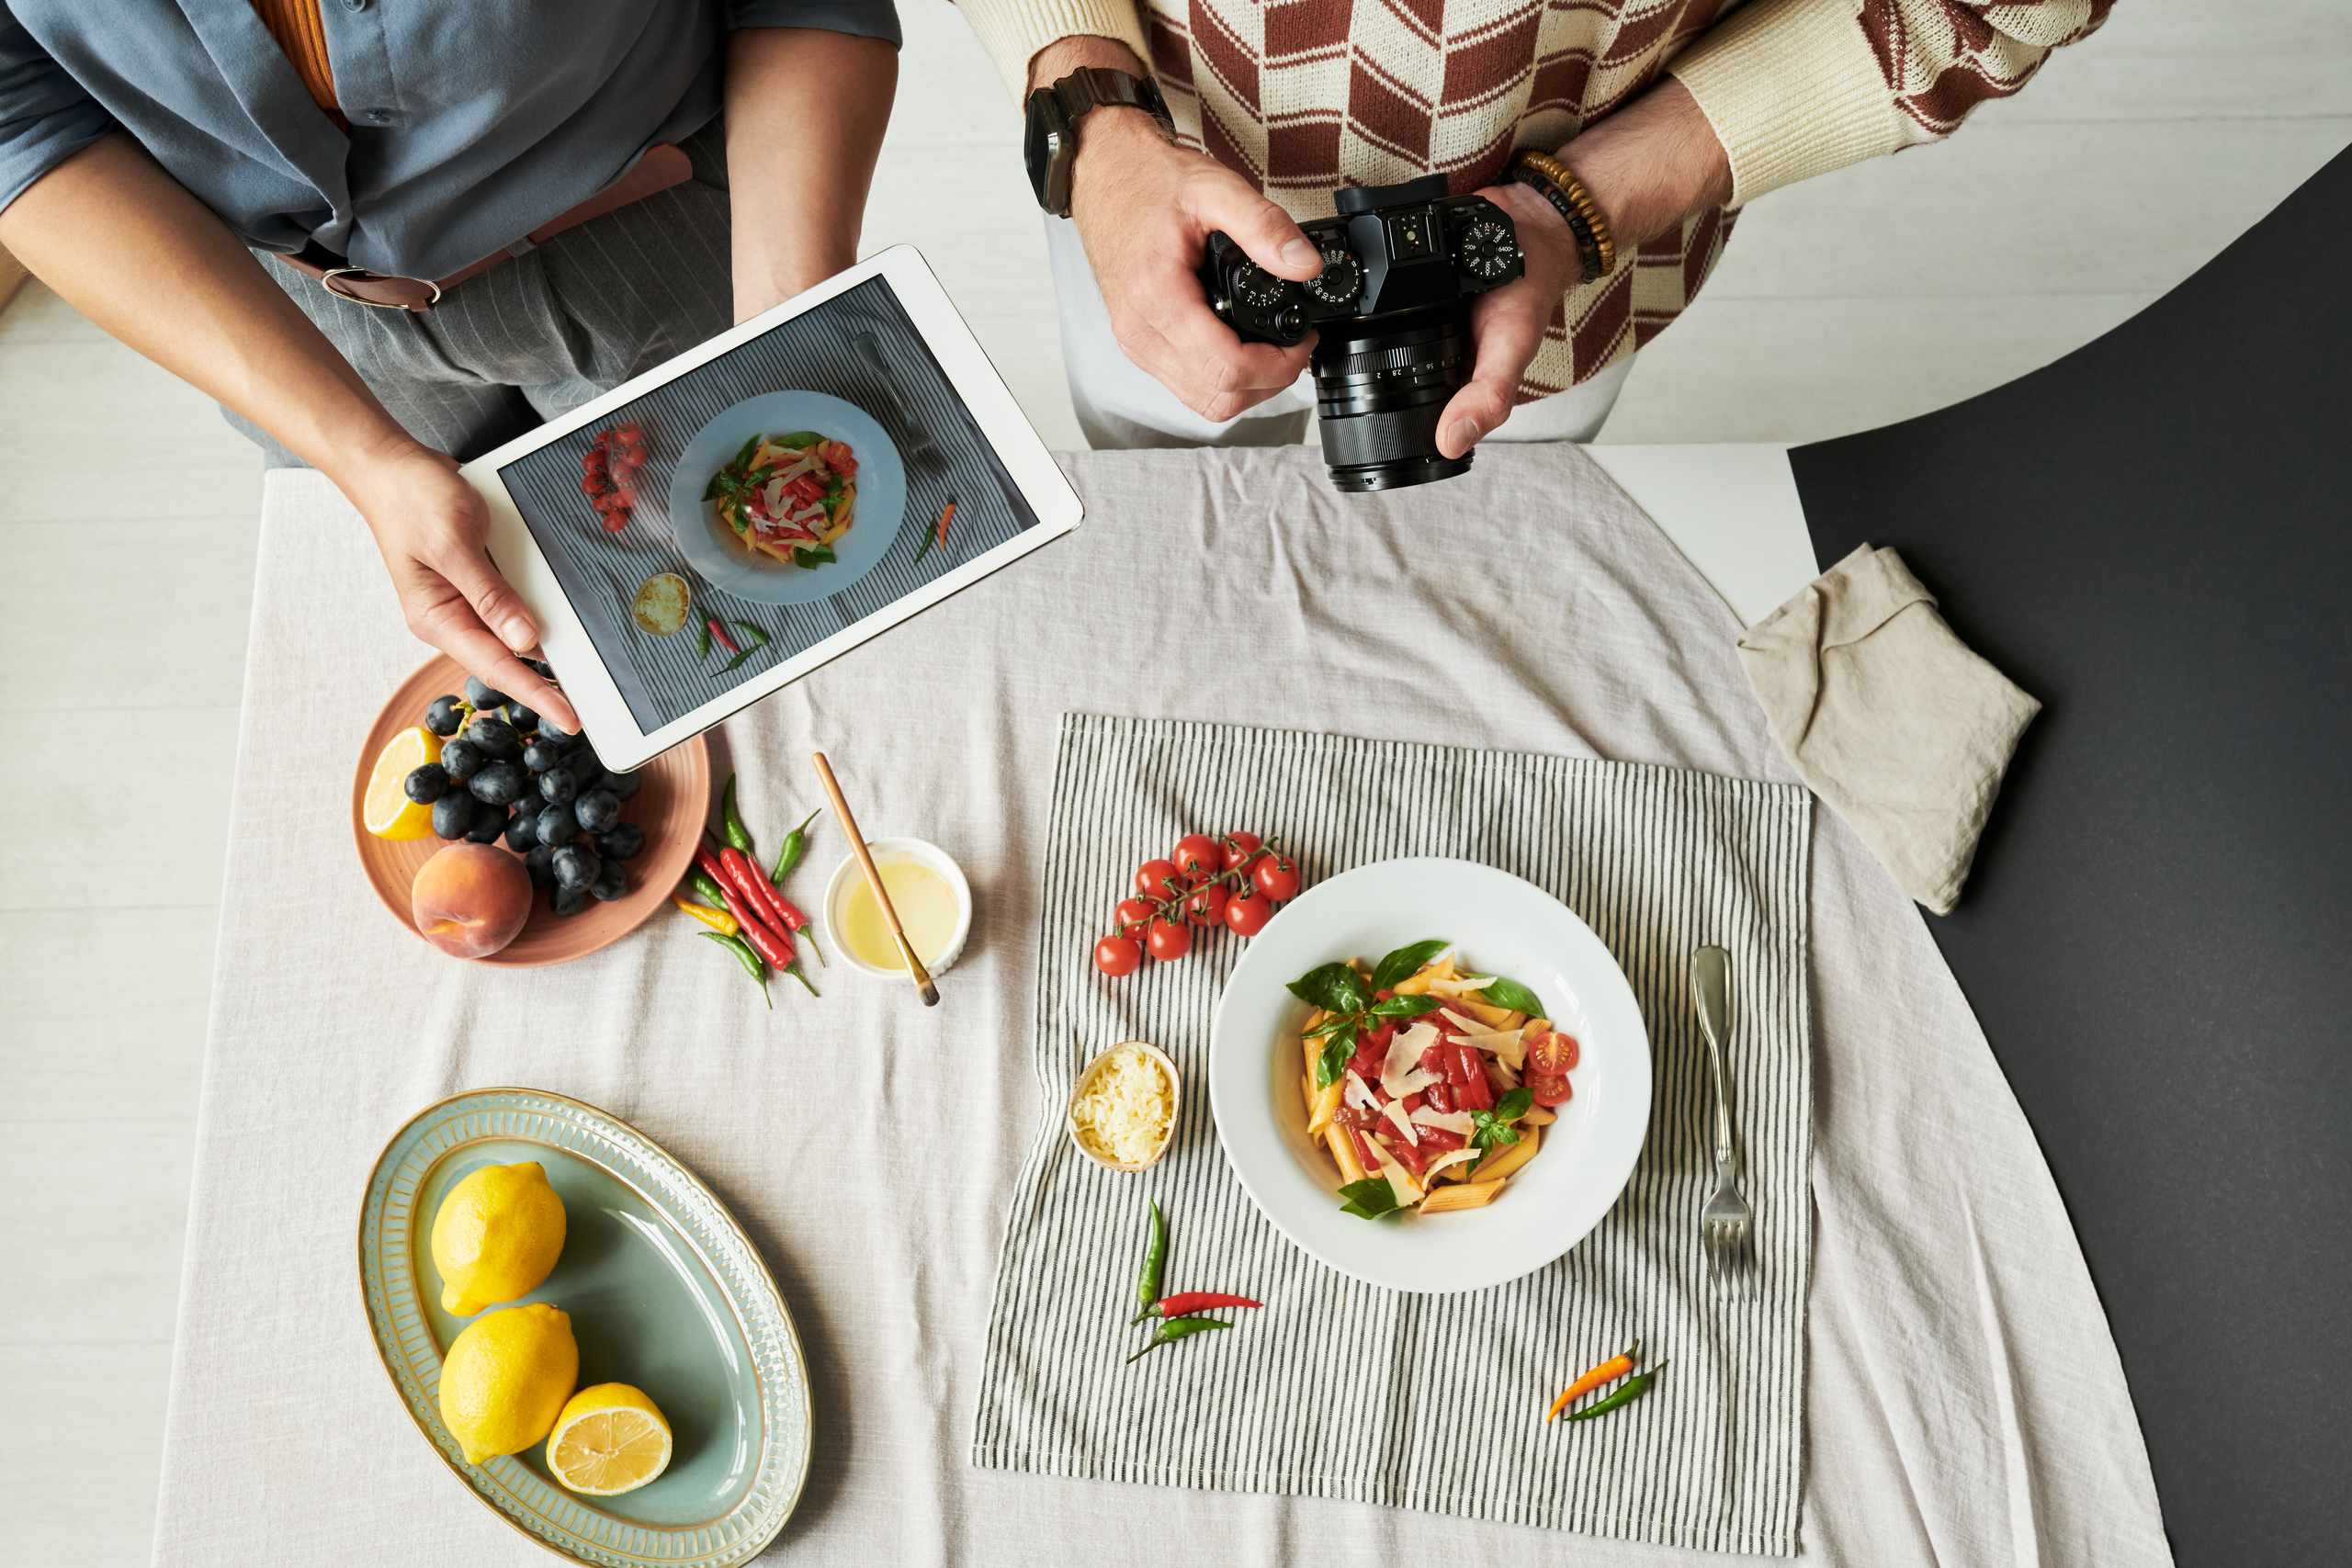
FoodHarmony does not frame better food photos as a matter of expensive gear. The approach is based on practical choices you can repeat: moving the plate, softening the shadow, removing one distracting prop, or checking where the focus lands.
Progress is built by noticing what changed between two versions of the same shot. A cleaner frame, calmer negative space, more natural white balance, or a clearer texture cue can make the dish easier to read before any heavy editing is needed.